Logo

Crafting Healthy Delights: How to Make Hemp Balls

In today’s health-conscious world, finding nutritious and delicious snacks can be a challenge. Fortunately, there’s a delightful solution – hemp balls. Packed with essential nutrients and bursting with flavor, these little treats are not only good for you but also incredibly easy to make at home. In this post, we’ll guide you through the process, ensuring you can enjoy these wholesome snacks whenever the craving strikes.

Ingredients and Preparation

To start your hemp ball adventure, gather the necessary ingredients: hemp seeds, dates, nut butter of your choice, coconut oil, and a pinch of salt. The hemp seeds provide a rich source of protein and omega-3 fatty acids, making them a perfect addition to your diet. Begin by blending the dates, nut butter, coconut oil, and salt in a food processor until you achieve a smooth, sticky consistency.

Get Creative with Flavors

One of the best things about making hemp balls is the opportunity to experiment with flavors. Add a teaspoon of cocoa powder for a chocolatey twist or a handful of crushed nuts for extra crunch. Don’t hesitate to explore various natural sweeteners like honey or maple syrup to enhance the taste. The possibilities are endless, allowing you to customize your hemp balls to match your taste preferences.

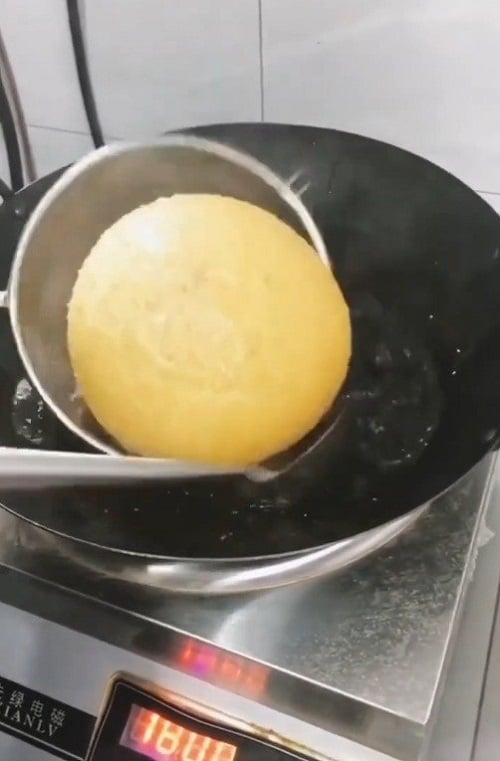
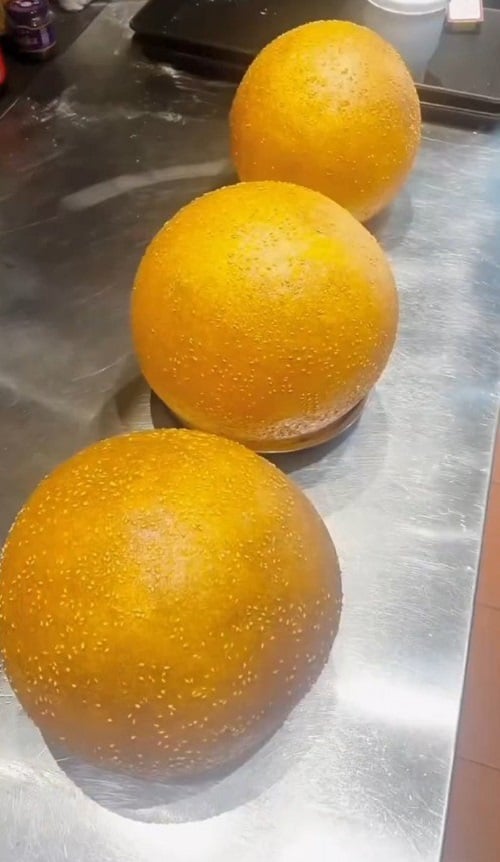
Shaping Your Hemp Balls

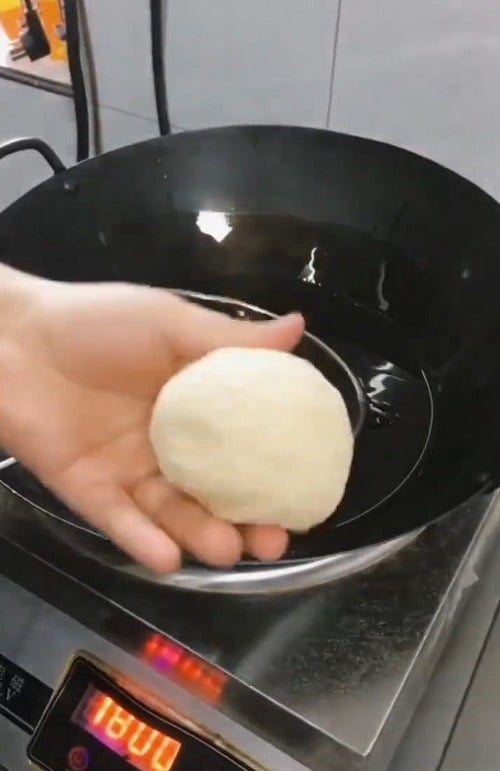
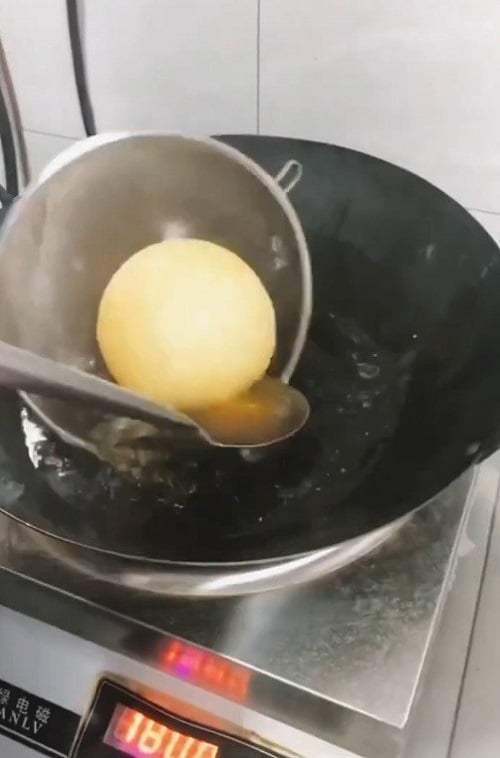
Once your mixture has reached the desired consistency, it’s time to shape the hemp balls. With clean hands, roll the mixture into bite-sized balls and place them on a parchment-lined tray. For an added touch, you can roll the balls in shredded coconut, cocoa powder, or crushed nuts, giving them an attractive and flavorful coating.

Benefits Beyond Taste

Aside from being a delectable snack, hemp balls offer numerous health benefits. Hemp seeds are rich in antioxidants, vitamins, and minerals, supporting your immune system and overall well-being. They also contain fiber, aiding in digestion and promoting a healthy gut. By incorporating hemp balls into your diet, you’re not only indulging your taste buds but also nurturing your body.

Making hemp balls is a rewarding and wholesome endeavor. By choosing natural, nutritious ingredients, you can create a snack that not only satisfies your cravings but also nourishes your body. So, next time you find yourself in need of a tasty and healthful treat, try your hand at crafting these delightful hemp balls. Your taste buds and body will thank you for it.

0 views
How to Make Kulfi Ice Cream (No-Churn Indian Ice Cream): A Heavenly Delight in Every Bite
Kulfi, the delightful Indian frozen dessert, has been captivating taste buds for generations. This velvety, rich treat offers a perfect blend of saffron’s exotic aroma, the warmth of cardamom, the floral essence of rose water, and the crunch of assorted nuts. Best of all, this recipe requires no fancy churner! In just a few simple steps, you can create a homemade Kulfi that rivals the best dessert parlors in town. The Magic of Saffron and Cardamom The secret to an authentic Kulfi lies in its aromatic ingredients. Begin by soaking 7-8 strands of saffron in a tablespoon of hot water, releasing its vibrant color and essence. The addition of crushed cardamom pods, with their intense, citrusy flavor, elevates the taste profile. These two ingredients lay the foundation for a Kulfi that is not just sweet but tantalizingly aromatic. Creamy Indulgence with Condensed Milk For the creamy base, you’ll need 2 cups of chilled heavy whipping cream and a can of sweetened condensed milk (14 oz). Whisk these together until you achieve soft peaks, creating a luscious, velvety texture that defines the perfect Kulfi. The condensed milk adds sweetness and depth, ensuring a balanced flavor that will leave you craving for more. The Fragrance of Roses and Crunch of Nuts Enhancing the aroma, add 2 tablespoons of rose water or kewra essence (substitutions available in the notes). The floral notes blend harmoniously with the saffron and cardamom, creating a Kulfi that not only tastes divine but also smells heavenly. To add a satisfying crunch, incorporate a cup of finely chopped assorted nuts – pistachios, cashews, and almonds. These nuts provide texture and a burst of flavors with every bite. The No-Churn Magic Unveiled The beauty of this recipe lies in its simplicity. There’s no need for an ice cream churner! After mixing all the ingredients thoroughly, pour the Kulfi mixture into molds, cover them, and let them freeze for at least 6 hours or preferably overnight. This allows the flavors to meld, resulting in a Kulfi that is dense, creamy, and utterly delightful. Serving and Savoring the Kulfi Experience Once the Kulfi is fully set, unmold it gently, garnish with a few saffron strands and chopped nuts for an elegant touch. Serve this frozen delight to your guests, and watch their faces light up with joy. The Kulfi’s texture is the perfect balance of creamy and icy, making it an ideal dessert for any occasion. Making Kulfi at home is a gratifying experience that connects you with India’s rich culinary heritage. With its exotic aroma, creamy texture, and nutty crunch, this homemade delicacy is sure to become a family favorite. So, gather your ingredients, follow these simple steps, and indulge in the heavenly delight that is Kulfi! Post Views: 334 Related